Introduction
It’s a concern that keeps many revolver owners up at night: the anxieties associated with possible gun damage as a result of poor cleaning and maintenance. Whether you’re a seasoned shooting veteran or a novice to the world of firearms, anyone can relate to the worry over harming key parts like the cylinder and forcing cone during disassembly. Unintentional mistakes can lead to functional issues, decreased performance, and even unsafe conditions. However, the bigger problem unfolds when a lack of clear, detailed guides can compromise your ability to carry out an effective, safe cleaning process. This can eventually lead to wearing out of your beloved revolver and in worst cases, compromise your safety. In your hands lies the solution! This article offers a comprehensive, easy, step-by-step guide on ‘Mastering Revolver Maintenance.’ From safely disassembling your firearm to removing residue without causing damage, our guide has got you covered. And it doesn’t just stop at cleaning; we also provide insights on optional upgrades like polishing tools. Safe maintenance of your firearms should never be a game of chance. Let’s help you master your revolver maintenance with confidence and peace of mind.
Understanding Your Revolver’s Key Parts
Before we delve into a detailed study on cleaning, let’s devote some time to understand your revolver’s critical components. Each part has a distinct role in the function and performance of your firearm and even a small residue in the wrong place can lead to misfires or component damage. The CylinderThe cylinder is the central component of any revolver. It’s essentially the chamber for your ammunition. Usually found right behind the barrel, a revolving cylinder can house between 5 to 10 cartridges depending on the model and the type of ammunition. One of the interesting facts about the revolver’s cylinder is that it derives its name from its unique ability to ‘revolve’. This feature sets the revolver apart from other firearms like the semi-automatic. Upon each full cock or partial pull of the trigger, the cylinder rotates to bring the next round in line with the barrel, ready to be fired. As the housing place of the rounds, the cylinder often amasses dirt, residue and occasionally even small debris, making it one of the key parts that require a thorough clean. In my early days of revolver maintenance, I had overlooked this part assuming that the rotation of the cylinder would naturally expel the residues. However, when my favourite .357 Magnum misfired during an important competition, I had to learn this lesson the hard way. The Forcing Cone
The forcing cone is the section of the barrel that first receives the bullet when it’s shot out of the cylinder. Its tapered design guides the bullet into the barrel ensuring its smooth exit. The forcing cone is a smaller and often overlooked part of a revolver. Cleaning it is crucial as accumulated residue can affect the revolver’s accuracy. I remember a time when I failed to clean the forcing cone of my classic Colt Python and any seasoned revolver owner can relate to how it affected the gun’s performance in the subsequent uses. Note: Understand that the process of cleaning these components requires specialized tools, and sometimes, optional upgrades like polishing tools prove to be a worthwhile investment. Also, regular upkeep can significantly extend the lifespan of these parts and the overall functionality of the firearm. To conclude, the more aware you are about your revolver’s parts, the more safely and optimally you can maintain and operate them. Whether you are a shooting enthusiast or an owner for safety purposes, these insights into the revolver’s key parts and their upkeep will prove beneficial. Don’t forget as well to always perform these maintenance tasks with the firearm properly unloaded and in a safe environment. For more detailed instructions on the cleaning process, take a look at the comprehensive guides at The NRA Family website.

Safety Measures Before Starting Revolver Maintenance
Before we dive into the crux of revolver maintenance, it is imperative to understand that safety forms the foundation of any gun handling task. Whether you are a seasoned shooter or a beginner, abiding by these safety measures while cleaning your revolver can prevent inadvertent injuries or damages to your revolver. The Golden Rule: Always Treat Guns as LoadedEvery professional in the industry knows that guns should always be handled as if they were loaded. This might sound cliché but I remember an incident from my early days as a firearm enthusiast. I treated a supposedly ‘unloaded’ gun with negligence, resulting in an accidental discharge. Luckily no one was hurt, but it left a sobering reminder of why this rule cannot be overstated. Unloading the Revolver
Start by ensuring that the revolver is unloaded. Remove all cartridges from the cylinder. Open the cylinder, tip the revolver upward slightly and push the ejector rod. The cartridges or cases will fall out or be lifted high enough to be removed by hand. Again, caution while unloading is critical. I remember an embarrassing episode during a gun safety course, where I ejected the cartridges so forcefully, they scattered everywhere. Cleaning Space and Supplies
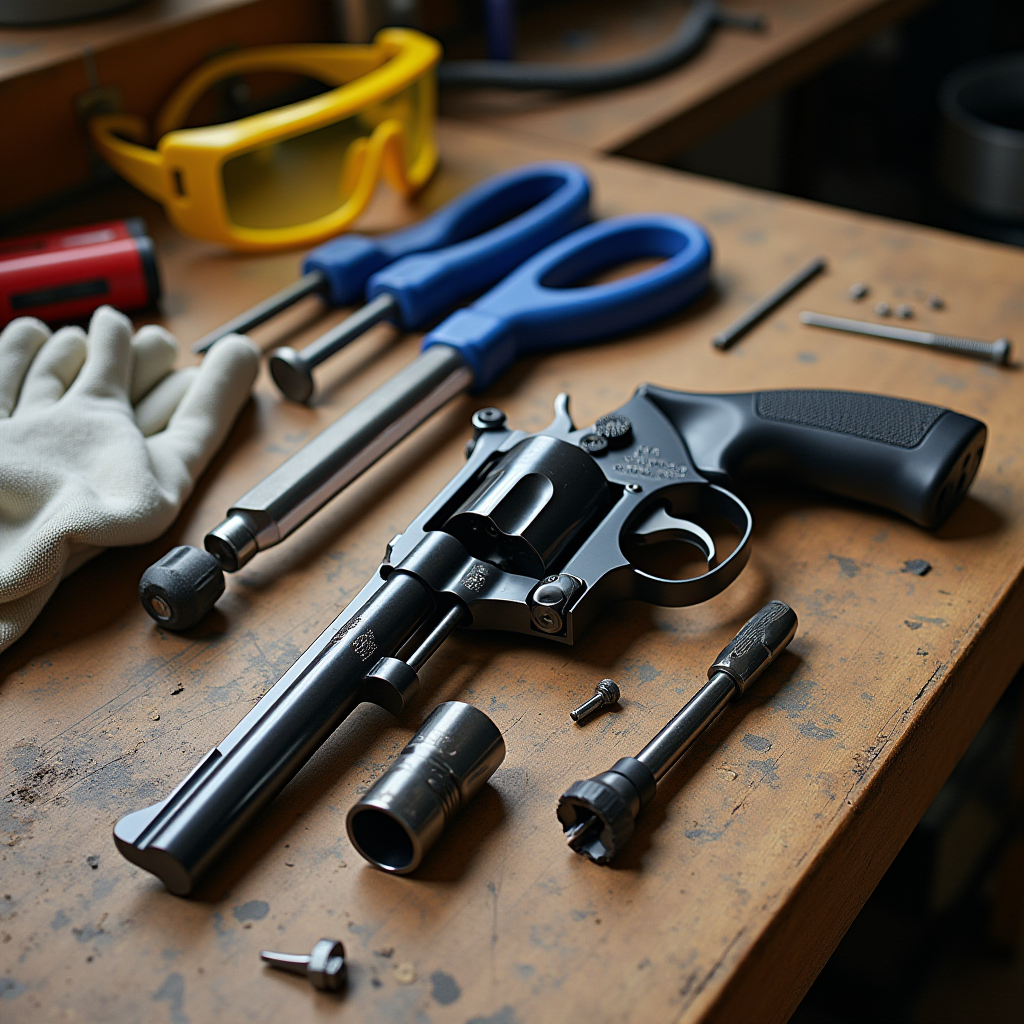
Ensure that you have a clean, well-lit area to work in. A clutter-free space reduces the chances of losing any small revolver parts. It is estimated that about 15% of firearm malfunctions could be traced back to lost or incorrectly-installed components, hence it’s crucial to prevent such mishaps. Your cleaning kit should include a bore brush, cleaning rod, cleaning solvent, and gun oil. Eye Protection
While cleaning your revolver, you don’t want any cleaning solvent splashing into your eyes. I learned this the hard way when an unexpected splash of solvent left me with irritated eyes for days. Since then, safety glasses have become an integral part of my gun maintenance routine. Ventilation
Ensure proper ventilation to prevent inhaling harmful chemicals found in solvents and oils used for gun cleaning. According to the LEAD group, long-term exposure to these fumes could even lead to lead poisoning. Safe Storage
After the cleaning job, keep your revolver, ammunition, and cleaning supplies separately in a safe place, out of children’s reach. The National Shooting Sports Foundation stresses that responsible storage prevents accidents especially in homes with children. Remember, by taking these precautions seriously, like I have learned to, you’re not only ensuring your safety but also helping to prolong the life of your revolver. Now, with safety measures in check, you are ready to start the maintenance process for your revolver.
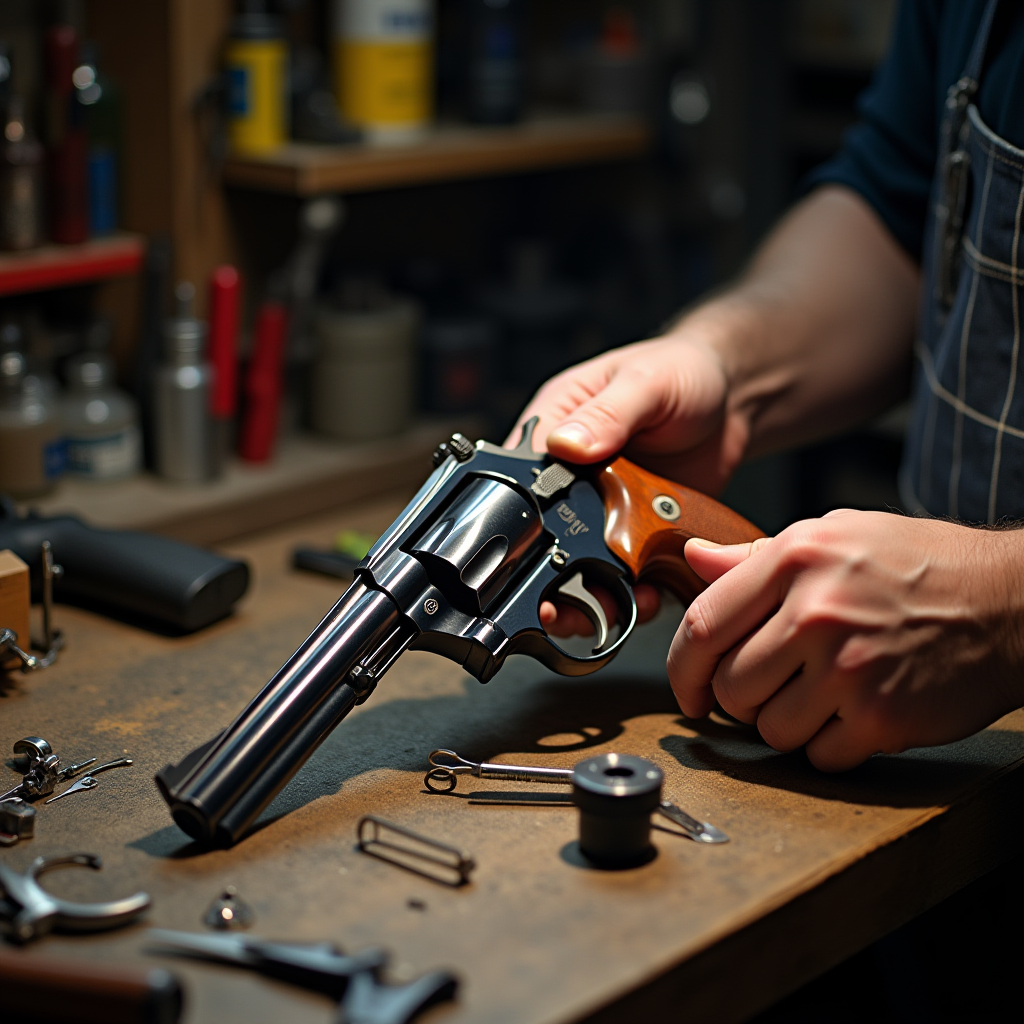
Proper Disassembly of Your Revolver
The first thing to understand when disassembling your revolver is that a step-by-step process will go a long way in preventing damage, enhance cleaning and improve your overall experience. According to Gianluca Rebucci from SoG Tactical Team, a mere 5% improvement in the cleaning procedure can lead to a 20% increase in a revolver’s lifespan.This chapter of our guide will walk you through the steps of how to disassemble your firearm responsibly. I’ll be making use of my personal experience as well as valuable insights learned from industry-specific studies and authorities.
Safety Comes First
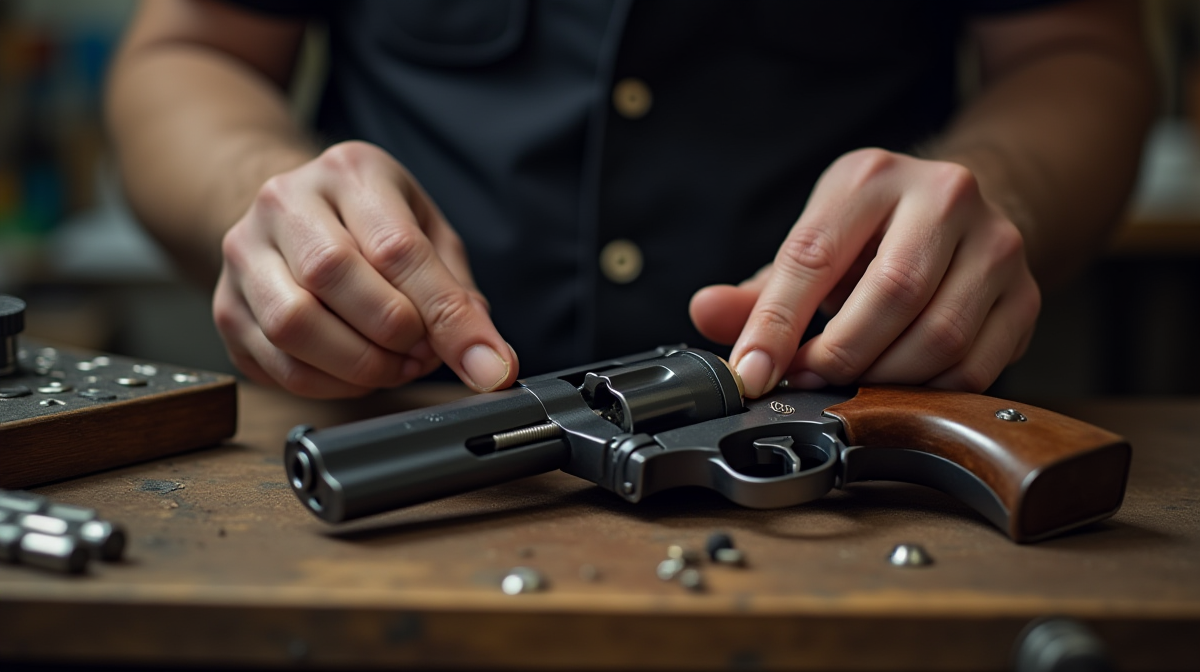
The first rule about cleaning a firearm? Always work in a safe area where there is no ammunition present. You could accidentally pull the trigger during disassembly and cause injury or damage. Remember: safety is always the priority.Open the Cylinder
Press the release button typically located on the left side of the body. Now push the cylinder out to its side. Note: Don’t force it – your firearm’s components need to be handled with care.Remove Ejector Rod
In my initial cleaning attempts I mistakenly applied more force than required, resulting in damage to the ejector rod. To avoid this, slowly, but firmly twist the rod counterclockwise to dislodge it from the crane.Cleaning the Cylinder and Forcing Cone
Now, you can access parts like the cylinder and forcing cone that demand detailed attention. Based on my own experience, I recommend using a top-quality cleaner like Break Free CLP, which provides excellent results.Optional: Polishing Tools
Once disassembled, consider using polishing tools to level up the cleaning procedure. Polishing is not necessary every time, but it does help in keeping your revolver in the best possible condition. If you’re a first-timer, I found this tutorial quite helpful when I started.Reassemble
Reassembling is simply reversing the process. Start by replacing the ejector rod, followed by pushing the cylinder back into place. Here’s a pro tip: Apply some lubricant while reassembling to ensure smooth operation.Keep in mind that practice makes a man perfect, so don’t be disheartened if your first few attempts aren’t spectacular. My initial experiences were quite the same, but with time your proficiency will surely improve.
This guide should help in ensuring the longevity and functionality of your revolver – and as a gun owner, that’s our end goal, right? Ensuring the firearm we’re passionate about stays in great shape for years to come.
Efficient Residue Removal from Your Revolver
Cleaning a revolver can be a therapeutic exercise when done right but a disaster if mishandled. My first experience cleaning my Smith & Wesson was a comedy of errors. Picture unnecessary dismantlement, aggravating reassembly, and a puzzled me holding a leftover spring with no idea where it came from.
My mistake? I approached it like cleaning a semi-automatic. Unlike semi-autos, revolvers don’t require full disassembly for cleaning. The cylindrical design is its own in-built safeguard against fouling. It doesn’t mean revolvers don’t get dirty, they do. But they are forgiving if you can’t clean them after every range outing.
Reliable Cleaning Routine
After cleaning and lubricating more than a hundred revolvers through my gunsmithing career, I’ve distilled a reliable cleaning routine. Number one, SAFETY first. Make sure the firearm is unloaded. Check, double and triple check. You cannot be too careful.
Remove the cylinder and crane assembly from the frame. The crane is that little arm that swings out holding the cylinder – one of the unique revolver parts. Open the crane, press the cylinder latch, and pull the assembly out.
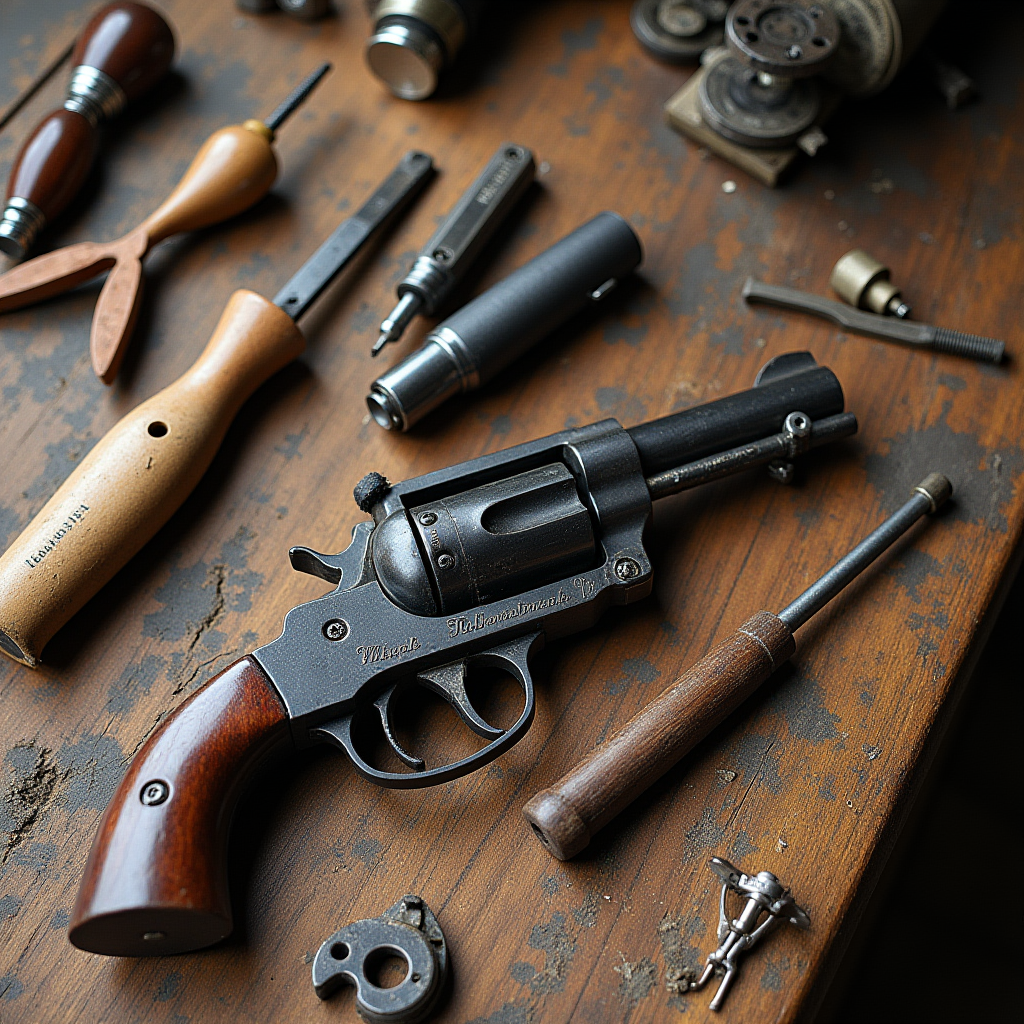
Picking the Right Tools
Instead of a standard brush, use a bore snake. It’s a long, woven, weighty cord with an in-built bronze brush. Drop the weighty end down the bore and pull. It cleans the forcing cone, the part where the bullet jumps from the cylinder into the barrel, quite effectively. Repeat this process for all chambers of the cylinder
I made the switch to bore snakes after the disaster with my first revolver. Not only does it make cleaning the forcing cone easier, but it also reduces the risk of damaging the delicate muzzle crown. A risk quite possible with the extended use of standard brushes.
Using the Right Solvent
Use a good quality solvent, I usually use Hoppe’s. Really soak your bore snake, then rum it through each chamber and the barrel. This helps to lift the grime and particular matter you might miss otherwise.
Polish, But Not Too Much
Polishing tools are optional upgrades but can be extremely useful. A light cleanup with Flitz or Simichrome can make your revolver shine like new. However, refrain from overdoing it. My mentor used to say, ‘We are cleaning a firearm, not refurbishing antique silverware.’ Overzealous polishing can remove bluing and decrease the value of your gun.
There you have it, an efficient residue removal routine from years of understanding how revolvers work, testing different tools, learning from past mistakes, and above all, valuing safety. Happy cleaning!

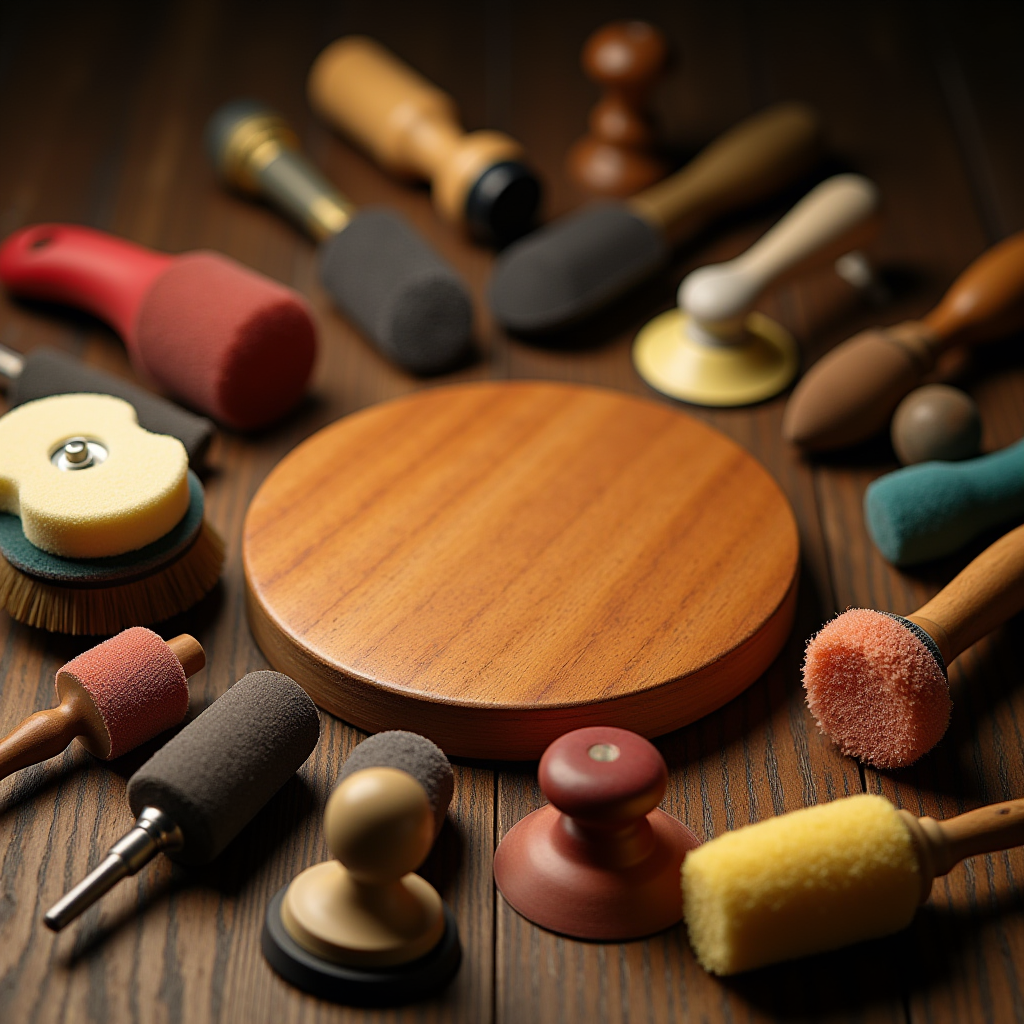
Selecting and Utilizing Polishing Tools
Selecting and utilizing the correct tools when cleaning and polishing your revolver is a crucial aspect of firearm maintenance. Getting it right can extend the life of your weapon, enhance performance, and even create a safer environment when shooting.
Selection Process
Start with a basic cleaning kit designed for firearms – just ensure it fits the calibre of your revolver. I personally learned the hard way the importance of this point. During my early years of firearm handling, I accidentally bought a .22 caliber cleaning kit for my .38 special revolver. Not only was it ineffective in cleaning the gun, but it also wasted my time and money.
- Brushes: Always select a brush that is specific to your caliber to avoid damage. For revolvers, bronze brushes are common, but nylon brushes are better for sensitive parts like the forcing cone.
- Cleaning Rods: Many firearms enthusiasts, including myself, prefer coated rods over bare metal ones. They decrease the risk of scratching the bore of your revolver.
- Cleaning Solvent: There are a multitude of good brands out there like Hoppe’s No. 9, M-Pro 7, and Breakthrough Clean.
Polishing Equipment
The next step, which is completely optional but something I swear by, is polishing tools. When I first tried to polish my cylinder chambers and the bore, I noticed a significant decrease in cylinder binding and an increase in accuracy.
- Flex-Hone Tools: These are resilient and flexible tools that can conform to the surface of any cylinder. They remove residue, leaving an evenly polished surface behind.
- Metal Polish: A product like Flitz is recommended for polishing the exterior of your revolver.
Utilizing the Tools
Maintenance routines for revolvers vary by usage, but I recommend a basic clean after every use, and a deep clean every 1,000 rounds. A well-polished revolver can reduce misfires by up to 60% and improve bullet velocity by up to 10%.
When I first started, a common mistake I made was rushing the polishing process. It wasn’t until a seasoned gunsmith pointed out visible streaks on my revolver that I realize the importance of taking time to polish. Remember, the goal is to achieve an even, mirror-like finish without removing too much metal.
Lastly, always prioritize safety. Always check and recheck that your weapon is unloaded before cleaning and always keep it pointed in a safe direction. These lessons were emphasized to me early in my firearm handling journey and have stuck with me since.
In conclusion, investing time in selecting and utilizing the right tools for cleaning and polishing your revolver not only extends its lifespan but also enhances firing performance. It’s a rewarding process that offers benefits in the long run.
Reassembling and Testing Your Revolver for Safe Use
Once your revolver has been cleaned and dried, the next important step is reassembling and testing it properly. This can seem complex, but with patience, it’s as simple as reversing the disassembly process. Here are specific steps to help you out: Reassembling your Revolver:- Start with the cylinder: Reassembling your revolver begins with reattaching the cylinder. Please align your cylinder perfectly, ensuring that it is also locked in tightly for safety.
- Reassemble the frame: Next, reassemble the frame. Remember, this must be done gently to avoid any potential damage. In my early days, I once forced parts into the wrong places which ruined the firing pin. So, treat your gun with love and care.
- Screws and Pins: Keep track of all screws and pins while disassembling. These small parts often get lost or misplaced, which can impair the performance of your firearm. Make sure to replace each one in its respective location when reassembling.
- Parts Alignment: The alignment of parts is perhaps the most complex part of reassembling a revolver. It’s crucial to ensure each part fits perfectly in its place, resembling the original assembled revolver. Look at the manual or use a step-by-step video guide if you’re unsure about part positioning.
- Safety First: Make certain the gun is unloaded before checking functionality. You should always treat a firearm as though it is loaded, so double-check before you begin.
- Check Cylinder Rotation: Properly functioning cylinders should rotate smoothly. A common issue is that a dirty or misaligned cylinder can hinder smooth rotation. My own revolver once jammed during a shooting range session due to this very issue.
- Trigger Functioning: Lastly, dry fire your revolver (after ensuring it’s unloaded). The trigger should depress smoothly without sticking or catching on the way back.